Welcome to your ultimate guide on caring for the Dieffenbachia Camille, a beautiful and low-maintenance houseplant known for its striking foliage that can brighten any space. Whether you're a budding plant enthusiast or a seasoned indoor gardener, understanding the needs of your Dieffenbachia Camille will help you cultivate a lush and healthy plant. In this comprehensive care guide, we’ll cover everything from watering and lighting to propagation and common issues. Let's dive in!
Watering Dieffenbachia Camille: Finding the Balance
Dieffenbachia Camille prefers consistently moist soil, but be cautious of overwatering which can lead to root rot. Aim to water when the top inch of soil feels dry. In practical terms, this typically means watering every 5-7 days during the growing season (spring and summer) and reducing frequency to every 10-14 days during the dormant months (fall and winter). Ensure excess water can drain away as the plant dislikes sitting in water.
Soil Requirements: The Ideal Mix
A well-draining potting mix is crucial for the Dieffenbachia Camille. A combination of peat moss, pine bark, and perlite or sand will create a soil texture that maintains moisture while allowing for adequate drainage. Avoid using heavy soils that retain too much water.
Light Requirements: Striking the Right Balance
Dieffenbachia Camille thrives in bright, indirect sunlight. Too little light will slow growth and cause leaves to lose their vibrant color. However, direct sunlight can scorch the leaves. Position your plant near an east or north-facing window, or a few feet away from a south or west-facing window with a sheer curtain to filter the light.
Temperature and Humidity: Creating the Perfect Environment
Keep your Dieffenbachia Camille in temperatures ranging from 65°F to 75°F (18°C to 24°C) and avoid exposure to drafts, sudden temperature changes, and cold temperatures below 60°F (15°C). Humidity is also vital—aim for 60-80% humidity levels. Increase humidity by misting the leaves, using a humidity tray, or placing a humidifier nearby.
Feeding and Fertilizing: Nourishing Your Plant
Feed your Dieffenbachia Camille with a balanced liquid fertilizer every 4-6 weeks during the growing season (spring and summer). Reduce feeding in fall and winter. Over-fertilizing can lead to brown leaf tips, so always follow package instructions carefully.
Pruning and Maintenance: Keeping Your Plant Healthy
Prune your Dieffenbachia Camille to remove dead or yellowing leaves, control its size, and encourage bushier growth. Use sterilized scissors to cut back leggy stems and make clean cuts to prevent disease. Regularly wiping the leaves with a damp cloth will also keep them dust-free and allow for better photosynthesis.
Common Issues and Solutions: Troubleshooting Tips
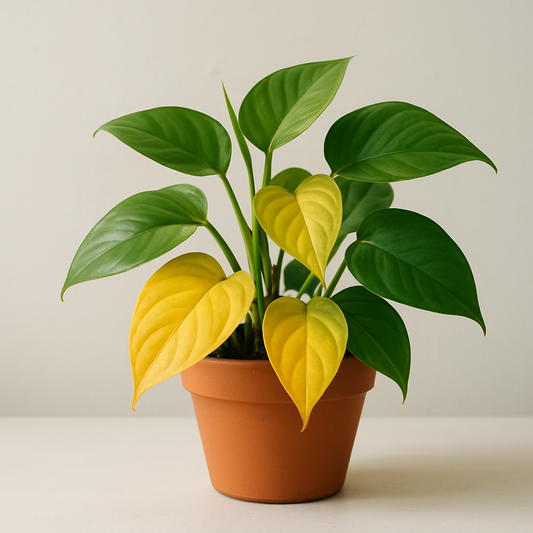
If you notice your plant’s leaves yellowing, this might be due to overwatering, insufficient light, or nutrient deficiencies. Adjust watering frequency, relocate to a brighter spot, or feed appropriately. For brown edges, check humidity levels and ensure the plant isn’t near a heater vent.
Common Pests and How to Treat Them
Pests such as spider mites, aphids, and mealybugs can occasionally affect Dieffenbachia Camille. Combat these pests by wiping the leaves with a mixture of water and mild dish soap, or use insecticidal soap or neem oil spray for more severe infestations.
Propagation Tips: Growing Your Collection
Dieffenbachia Camille can be propagated through stem cuttings. Select a healthy stem, cut below a node, and remove the lower leaves. Place the cutting in water or a damp potting mix, keeping it in a warm, humid environment until roots form, usually within 4-6 weeks.
Overwintering Dieffenbachia Camille
During the cooler months, reduce watering frequency and ensure the plant is away from cold drafts. Maintain humidity levels and provide sufficient light to keep your Dieffenbachia healthy through winter.
Transitioning Dieffenbachia Between Indoor and Outdoor Environments
If you’re moving your plant outdoors for the summer, gradually acclimate it by increasing exposure to outdoor conditions over a week. Avoid direct sunlight and protect from pests. Reverse this process in the fall when bringing it back indoors.
Indoor Care vs. Outdoor Care for Dieffenbachia Camille
Indoors, Dieffenbachia Camille benefits from stable temperatures and controlled humidity. Outdoors, ensure indirect light exposure and monitor for pest presence. Remember, indoor plants need less watering than outdoor ones.
How to Grow Dieffenbachia Camille From Seed
While seed propagation is less common, you can sow seeds in a well-draining seed-starting mix and ensure even moisture and warmth around 75°F (24°C). Germination can take several weeks, so patience is key.
Special Care Tips: Enhancing Growth
Regularly wipe the leaves with a damp cloth to remove dust and promote photosynthesis. Rotate the plant occasionally to ensure even growth on all sides. Consider repotting every 2-3 years to provide fresh soil and sufficient root space.
Design Ideas: Showcasing Dieffenbachia Camille
Display your Dieffenbachia Camille in decorative pots that complement its vibrant foliage. They pair beautifully with plants like peace lilies or pothos for added texture and greenery. Place it as a focal point in living rooms or offices where natural light enhances the plant's striking presence. Learn more about the Dieffenbachia Camille and bring its charm to your space today!
We hope this guide provides you with all the information you need to successfully care for your Dieffenbachia Camille. With patience and attention, this plant will thrive and bring beauty to any environment.


